Yaesu 1802 Installation

Maintaining communication with the outside world while traveling through the back country is very important. We often travel into remote areas and far away from cellphone service. After some research we decided on a 2meter HAM radio and I set out to study for the Technician License Exam. Thanks to the help of fellow travelers on Expedition Portal, we chose to purchase a Yaesu FT1802M radio. Here is how we installed it in our 4Runner.
Equipment Used:
- 1802 YAESU, FT1802M, XCVR 2M 50W
- 1067 LARSEN, NMO-QC, 2M 1/4W ANT &; W200
- 1274 LARSEN, NMO-K MTG, .5IN TO 17FT RG58 PL
- 1077 LARSEN, TMB34, TRUNK L-BRACKET CHROME.75
Installation:
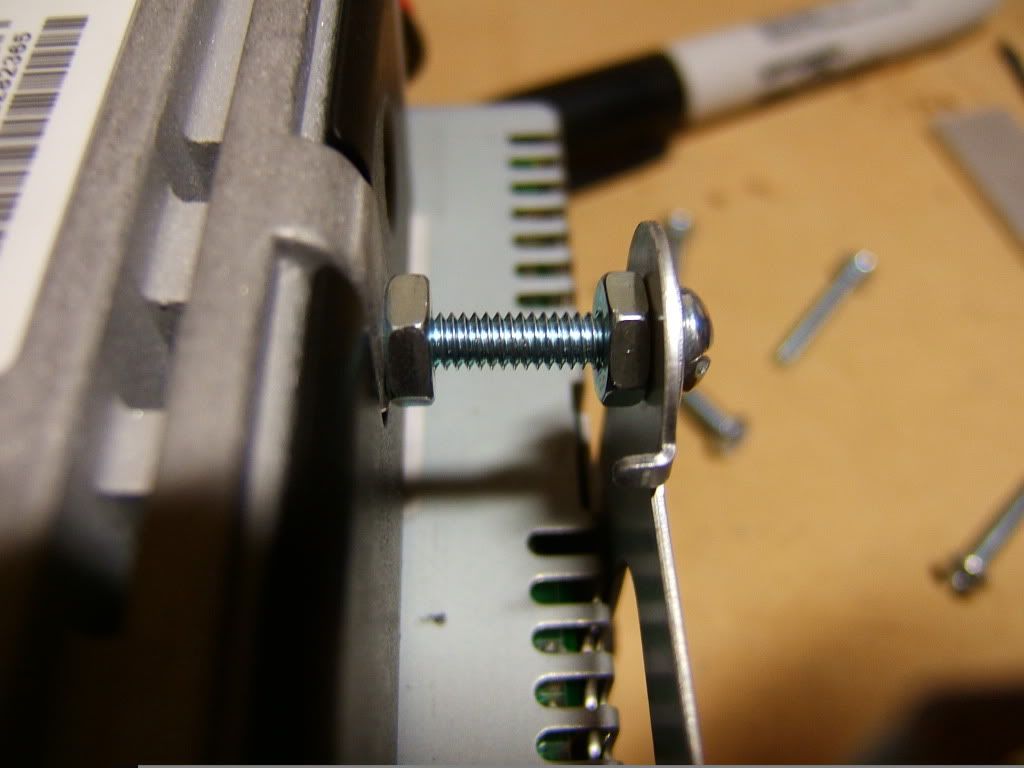
I installed the transceiver in the lower DIN slot below my stereo. I used 4 8-32x1" machine screws plus 8 8-32 nuts and drilled an extra hole in the factory DIN bracket per the measurement I took off of the transceiver:
 |
| The resulting DIN assembly |

I bunched the remaining coax in a bow and cinched it down with a zip-tie. Using a razor blade, I cut the insulation back as per the instructions and soldered the supplied plug to the end. (sorry no picture)


To cover the opening around the radio, I took some 26ga steel and cut a filler panel to cover the gap around the transceiver.


When I was trying to figure out where to mount the mic clip I didn't want to go and drill a bunch of holes in the dash, so I ended up bending the mic clip and drilling two holes above the HVAC controls.


So here is everything all finished up.
